
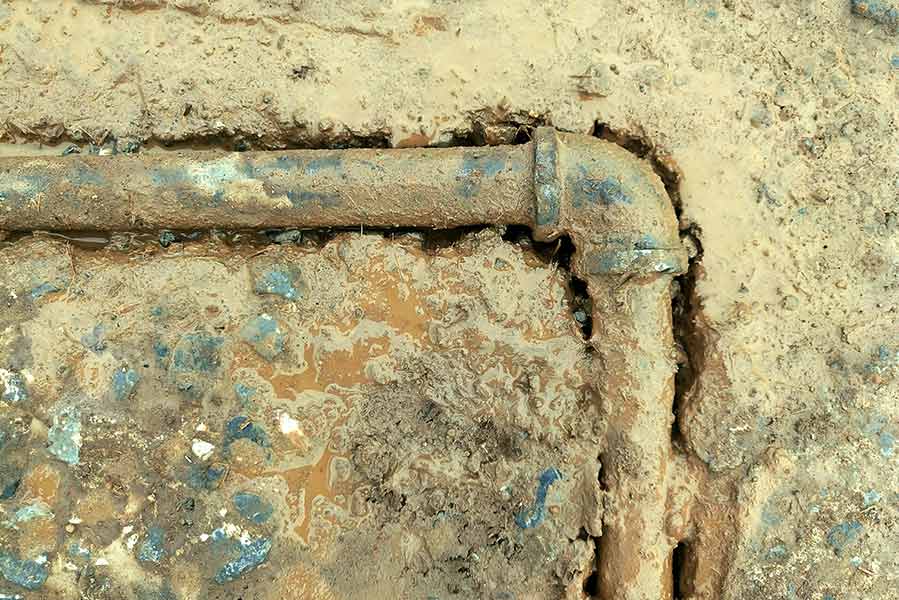
So, you’ve discovered a slab leak in your home. You’re probably wondering what the essential techniques for repair are, right? Professionals employ numerous methods for effective slab leak repair, from using electronic leak detectors to applying epoxy restoration. But how do you choose the right one, and what preventive measures can you take to avoid future leaks? Stick around, and we’ll explore these questions in detail, leaving you well-prepared for any slab leak scenario you might encounter.
Understanding Slab Leaks
While it might not be obvious initially, understanding slab leaks is essential, as they can lead to severe damage if left untreated. A slab leak occurs when water lines beneath your home’s concrete foundation, known as the “slab,” begin to leak. These leaks can be from hot or cold water lines and are typically caused by corrosion, poor construction, or ground movement.
You might wonder why a slab leak is so problematic. Well, these leaks are buried deep in your home’s structure. They’re not easy to spot or access. They can undermine your foundation’s stability, lead to mold growth, and even waste significant amounts of water when left unnoticed.
While you can’t fix a slab leak, understanding what it is and why it happens can help prevent it. Regular maintenance, using quality materials during construction, and monitoring water usage can all help prevent it. And if you suspect a slab leak, don’t delay contacting a professional for help. The sooner a slab leak is detected and repaired, the less damage it can cause.
Common Signs of Slab Leaks
Before exploring slab leak repair techniques, it is crucial to recognize the common signs of a slab leak. Identifying these early can prevent potential structural damage and costly repairs later on.
Firstly, you might notice an unexpected increase in your water bill. If you’re not using more water than usual and your bill is rising, it’s a clear sign that water is leaking somewhere. The sound of running water when all faucets are off is another telltale sign.
Additionally, you may experience low water pressure. Since the water is escaping elsewhere, it can’t maintain the normal pressure in your pipes.
Look out for wet spots on your floor or carpets. They can indicate a leak underneath. In extreme cases, you’ll witness cracks in your walls or floors due to the water eroding your foundation.
Lastly, you might feel warm spots on your floor. This occurs when hot water leaks from the pipes, heating the concrete above it.
Tools Needed for Leak Detection
After spotting any of these slab leak symptoms, you’ll need specific tools to confirm your suspicions and pinpoint the exact location of the leak. The toolbox for this task isn’t your average homeowner’s kit. It calls for specialized equipment designed for leak detection.
First, you will need an electronic leak detector. This tool uses noise-sensitive microphones to detect sounds made by leaking water. It’s particularly useful when the leak is hidden deep within the slab.
Next, you’ll need a thermal imaging camera. This device uses infrared technology to detect temperature differences within the slab, thereby identifying potential leaks. Remember, leaks often cause a slab section to be colder than the surrounding areas.
Another essential tool is a moisture meter. It measures the moisture in the slab, helping you identify damp spots that may indicate a leak.
Lastly, an endoscopic camera can be invaluable. This tool, often used by plumbers, allows you to visually inspect hard-to-reach areas within the slab.
Leak Detection Techniques
Now that you have the necessary tools, let’s explore the specific techniques for detecting a slab leak. The first step is always listening. Using a stethoscope or a specialized leak detection device, you can listen to the sound of running water underneath the concrete slab. This is the most basic and preliminary technique for detecting a potential slab leak.
Next, you’ll want to use thermal imaging. This technique employs an infrared camera to detect temperature differences within the slab. Areas where a leak is present will typically be cooler due to the water’s evaporative cooling effect.
In complex scenarios, you should use video inspection. This technique involves inserting a small camera into your plumbing system to visually inspect for leaks. It’s a more invasive method, but it can help pinpoint the exact location of the leak.
Lastly, don’t forget about moisture meters. These tools can detect moisture levels in your slab, indicating the presence of a leak. Remember, these techniques aren’t mutually exclusive. It’s often beneficial to use a combination to guarantee accurate detection. Don’t rush the process. Careful and thorough inspection is key to successful slab leak repair.
Evaluating the Extent of Damage
Once you’ve successfully detected a slab leak using the techniques detailed above, it’s time to assess the severity of the damage to determine the best course of repair. This part is critical as the extent of damage dictates the repair method.
Start by determining the exact location of the leak. It’s not enough to know that there’s a leak; you must know where it is. Usually, the site of the leak is the most damaged. Pay attention to signs such as wet spots, warm areas, or cracks on your floor.
Then, evaluate the damage to the slab itself. If the concrete is considerably cracked or eroded, it might require extensive repair or replacement.
Assess the impact on the building’s structure. Slab leaks can weaken foundational support, compromising the building’s safety. If you notice signs of structural damage, like uneven floors or cracks in walls, it clearly indicates that the leak has caused considerable damage.
Lastly, inspect any affected plumbing lines. Damaged pipes may require replacement rather than repair.
Preparing for Slab Leak Repair
Before diving into slab leak repair, it’s crucial to properly prepare your workspace and gather all necessary tools and materials. Clear the area to guarantee safety and efficiency. Remove any furniture or obstacles that could impede access to the slab. Cover unaffected areas with plastic sheets to avoid dust or debris damage.
Next, gather the necessary tools and materials for the job. You’ll need a jackhammer or concrete saw to access the leak, a pipe cutter, and replacement pipes. Also, don’t forget the necessary safety gear: hard hats, safety glasses, and gloves are a must. You’ll also need a wet vacuum to clean up the water and debris.
Remember to turn off the main water supply before beginning work. It’s also wise to have a professional inspect the area before you start. They can help pinpoint the leak’s location, reducing unnecessary damage to your slab.
Lastly, prepare yourself mentally. Slab leak repair can be a complex, demanding task. Stay patient, focused, and ready to adapt. Every situation will be unique, requiring different approaches and solutions. With preparation, you’ll be well-equipped to handle your slab leak repair.
Effective Slab Leak Repair Methods
After properly preparing your workspace, it’s time to explore the various effective methods to repair a slab leak. These techniques will allow you to address the issue efficiently and minimize damage to your property.
Here are five effective methods for slab leak repair:
- Epoxy Restoration involves injecting epoxy into the leak, creating a seal that stops the water flow. It’s less invasive and can be a cost-effective solution for small leaks.
- Re-piping: This method involves replacing the entire piping system. It’s a thorough solution, particularly useful for older homes with recurring leaks.
- Pipe Relining: This involves creating a ‘pipe within a pipe’ to repair damaged sections, which is less disruptive than a complete re-piping.
- Spot Repair: This method involves opening the slab at the leak point and repairing the damaged pipe. It’s effective for newer homes with a single leak.
- Pipe Coating: This involves coating the interior of the pipes with an epoxy coating to seal the leak.
Choose the method that best suits your situation, considering factors such as your home’s age, the extent of the damage, and your budget. Always remember to consult with a professional to guarantee effective repair.
Preventive Measures Post-Repair
Guaranteeing the longevity of your slab leak repair involves taking proactive measures to prevent future issues. Maintaining regular inspections is crucial, particularly in areas prone to leaks. This way, you’ll be able to spot potential problems before they escalate into a full-blown disaster.
One preventive measure is to monitor the water pressure in your home. High water pressure can cause undue strain on your pipes, increasing the likelihood of a slab leak. You can use a pressure gauge to monitor your water pressure. If it’s consistently high, consider installing a pressure-reducing valve.
Another preventive step is to control the pH level of your water. If it’s too acidic, it can corrode your pipes over time. A water softening system can help balance the pH level and prevent corrosion.
Don’t forget the importance of proper insulation. Insulate your pipes to protect them from extreme temperature fluctuations, which can cause them to expand and contract, leading to leaks.
Lastly, make sure your drainage system is functioning well. Poor drainage can lead to water pooling around your foundation, increasing the risk of slab leaks. Regularly clean and maintain your gutters and downspouts to guarantee proper drainage.
Hiring Professional Leak Repair Services
Despite your best prevention efforts, it’s time to consider bringing in professional leak repair services if you find yourself dealing with a slab leak. Experts in this field have the necessary tools and know-how to identify and fix the issue correctly, guaranteeing that further damage is prevented.
Here are a few key things to take into account when hiring a professional service:
- Experience: Look for a company that’s been in the business for many years. Experience often equates to expertise in identifying and resolving complex slab leaks.
- Certification: Verify that the service provider is certified. Certification implies that the company adheres to industry standards.
- Insurance: It’s essential to hire an insured contractor. This protects you from any liabilities should an accident occur during the repair.
- References: Always check for references or reviews. These can provide insight into the company’s reliability and quality of work.
- Guarantee: A dependable company will offer a guarantee on its work. This means it stands by the quality of its repairs.
Cost Estimation of Slab Leak Repairs
So, how much can you expect to pay for a slab leak repair? The cost can vary greatly, mainly depending on the severity and location of the leak. You could be looking at average from $500 to $4000.
It’s important to note that if the leak is under your home’s foundation, the repair costs can skyrocket, potentially reaching upwards of $15,000. This is because these leaks often require more invasive repair methods, such as jackhammering your foundation or rerouting entire pipe sections.
Additional factors that will affect the cost include the piping material, the size of the pipe, and the current plumbing rates in your area. If you’re dealing with an older home with outdated plumbing, you may also need to consider the cost of a complete plumbing overhaul.

Conclusion
You’ve now grasped the essentials of slab leak repair. Remember, nearly 10% of homes have leaks that waste 90 gallons or more per day. Advanced tools like electronic leak detectors and thermal imaging cameras can pinpoint leaks accurately. Options like epoxy restoration, re-piping, or pipe relining can fix the damage. Don’t forget that consistent post-repair monitoring is key to avoiding future leaks. With this knowledge, you’re ready to tackle any slab leak issues.