
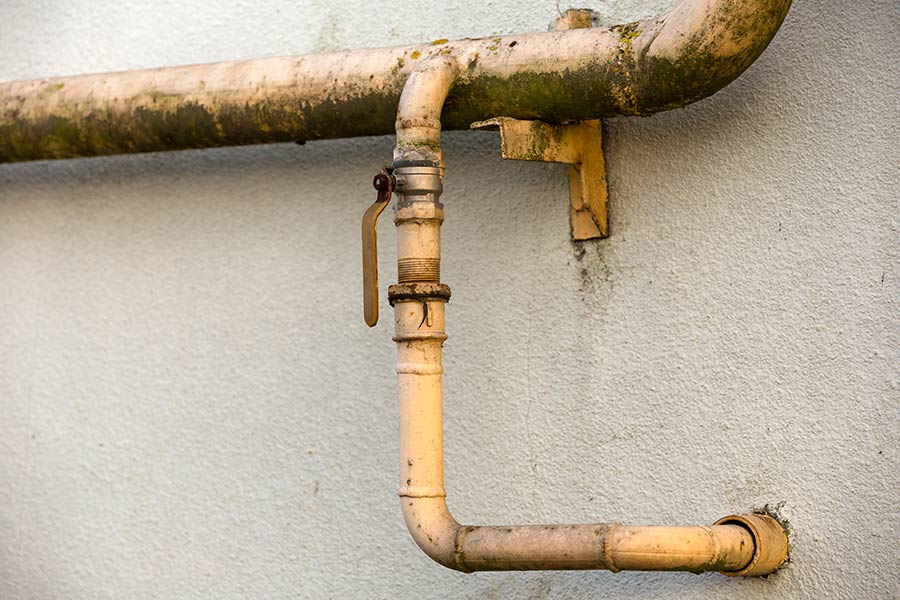
Ever had to deal with the nuisance of a leaky pipe? It’s a problem that can strike at any time, and you’d do well to know how to fix it. But where do you start? What tools do you need? Is it something you can handle, or should you call a professional? Stick around. We’re about to navigate the process of fixing a leaky pipe like a pro, discussing the vital steps from identifying the leak to the final testing. You’ll soon be armed with the knowledge to tackle that pesky pipe problem confidently.
Identifying the Type of Leak
Before you can fix your leaky pipe, you’ll need to adeptly identify the type of leak you’re dealing with, as this determines the repair approach to take. Your first step is to visually inspect the pipe. Are you seeing a steady drip or a tiny stream? A steady drip usually indicates a pinhole leak, often caused by corrosion. On the other hand, a small stream suggests a crack in the pipe.
Next, feel for dampness around the pipe. If the area is wet, you’re probably dealing with a slow leak. If it’s dry, you might have a leak that dries up quickly.
Listen to the pipe as well. If you hear a hissing sound, it’s likely a pressure leak. No sound could indicate a drainage leak.
Gathering Necessary Tools
Once you’ve determined the type of leak you’re dealing with, it’s time to assemble the necessary tools for the repair job. Now, don’t feel overwhelmed. It’s not as challenging as it sounds. You can’t be expected to have the vast arsenal of a professional plumber, but having the basics on hand will make a huge difference.
First, you’ll need a pipe cutter or a hacksaw. Remember that pipe cutters are more precise, but a hacksaw will do in a pinch. You’ll also need two adjustable wrenches — one to hold the pipe steady and the other to turn or tighten fittings. A pair of locking pliers is also suitable for stubborn fittings that refuse to budge.
Next, you’ll need a roll of Teflon tape to create watertight seals on threaded connections. Remember the bucket, rags for water cleanup, and safety glasses to protect your eyes. Finally, depending on the type of leak, you might need a pipe patch kit or some plumber’s epoxy.
Shutting off the Water Supply
As you prepare to fix the pipe, it’s essential that you locate your home’s main water valve and turn it off to prevent further leakage. Don’t be overwhelmed by the thought of this task. It’s easier than you might think, and I’m here to guide you through it.
Most homes have their main water valve located in basements, utility rooms, or outside by the water meter. It’s often a large wheel or lever. If you’re unsure where yours is, try to follow the main water line from the street. It’ll lead you to the valve.
Once you’ve located it, you’ll need to turn it off. If it’s a wheel, turn it clockwise or ‘righty-tighty.’ If it’s a lever, turn it a quarter turn until it’s perpendicular to the pipe. It might be stiff, so use your body weight or get a wrench if needed.
The next step may seem counterintuitive, but it’s essential. Open a faucet in the house. This will allow any remaining water in the pipes to drain out, reducing the chances of further leakage while you work. Now, you’re ready to begin fixing the pipe in earnest.
Preparing the Pipe Surface
Now, prepare your pipe for repair by thoroughly cleaning its surface. It’s essential to guarantee the pipe is as clean as possible, as it’ll allow the repair material to adhere better. So, grab a piece of steel wool or a wire brush and gently scrub the pipe around the affected area. Be careful not to apply too much force, as you don’t want to cause any more damage.
Once you’ve scrubbed away the dirt and corrosion, wipe the area with a damp cloth to remove any remaining debris. Next, you’ll need to dry the pipe thoroughly. You can use a blow dryer or a clean towel for this. Remember, a dry surface is key for the repair clamp to grip effectively.
Lastly, check for sharp edges or rough spots on the pipe surface. If you find any, use a file to smooth them out. This step will help prevent potential injury during the repair process and guarantee a better seal for the clamp. With your pipe now clean, dry, and smooth, you’re all set for the next step—applying the pipe repair clamp.
Applying Pipe Repair Clamp
With your pipe clean, dry, and smooth, you’re ready to apply the pipe repair clamp. This tool, a lifesaver in plumbing emergencies, is a metal sleeve with an adjustable clamp. It’s designed to cover and seal the leak in the pipe, providing a quick and efficient solution.
First, open the clamp and place it around the pipe, ensuring the rubber gasket lines up directly over the leak. This gasket is the key to creating a watertight seal. Once it’s positioned correctly, you’ll need to tighten the clamp. Most clamps have two bolts that you’ll need to fasten. Start by hand-tightening them, then use a wrench or a screwdriver to secure them. It’s important not to overtighten the bolts, as this could damage the pipe or the clamp itself.
Using Epoxy Putty for Small Leaks
For those pesky small leaks, epoxy putty can be your go-to solution. This easy-to-use material forms a strong, waterproof seal, making it ideal for plugging up small leaks in your pipes. It’s also highly versatile, working on various surfaces, including metal, plastic, and ceramic.
First, you’ll need to prep the pipe. Shut off the water and completely dry the area around the leak. Any moisture left can interfere with the epoxy’s ability to adhere properly. Use sandpaper to roughen up the surface; this will give the putty something to grip onto.
Next, knead a small amount of epoxy putty until it’s uniform. You shouldn’t need much – enough to cover the leaking area with some overlap. Apply the putty over the leak, pressing it firmly into place. Make sure to spread it out to cover the leak and the surrounding area.
Give the epoxy putty time to cure, which typically takes about an hour. Once it’s hardened, turn the water back on slowly and check for leaks. If no water is seeping out, you’ve successfully fixed the leak with epoxy putty.
Installing a New Pipe Section
If the leak in your pipe is large or the damage extensive, you’ll likely need to install a new pipe section. This task requires a bit more skill but can still be accomplished with the right tools and preparation.
Here, we’ll guide you through the process:
- Identify the Damaged Section: To start, you must identify and mark the damaged area. Accurate identification is vital to guaranteeing that your repair works effectively and lasts.
- Prepare the Tools: Gather all the necessary tools and safety gear. If you’re soldering copper pipe, you’ll need a pipe cutter, a new pipe section, two coupling fittings, a pipe wrench, and a torch.
- Cut and Remove the Damaged Pipe: Use the pipe cutter to remove the damaged section. Be careful not to damage the surrounding pipes. You want a clean cut so the new section fits snugly.
- Install the New Pipe Section: Fit the new section into place, ensuring it’s snug. Attach the coupling fittings to each end and secure them tightly. If dealing with copper pipe, you must solder the joints for a secure fit.
Testing Your Repair Work
Once you’ve secured the new pipe section, it is crucial to test your repair work to guarantee no further leaks are present. Don’t rush this step; patience now can save you a lot of hassle later. Start by slowly turning the water supply back on. Listen carefully and watch closely around the repaired area for any signs of water seeping out.
If water leaks, turn off the supply again and tighten your fittings. Remember, over-tightening can damage the threads, so use gentle force. If the leak persists, it’s time to review your work. Did you properly clean and dry the pipe before applying the sealant? Is the replacement section of the pipe the correct size? If you’ve double-checked everything and the leak continues, it may be time to call a professional.
When no leaks are visible, leave the water running for a while. Sometimes, a slow leak can take time to show. Check the pipe every so often, looking for dampness or drops of water. By following these steps, you’re not just fixing a problem; you’re serving your home and all those who live in it.
Preventive Measures for Future Leaks
Keeping your plumbing system in top shape can prevent future leaks and save you the hassle of repeated repairs. Prevention is often more cost-effective and less stressful than reacting to issues as they arise. Here are four proactive steps you can take to keep your pipes leak-free:
- Regular Inspections: Don’t wait for a problem to arise. Regularly inspect your pipes, checking for signs of wear and tear. Look for corrosion, bulging, cracks, or discoloration.
- Proper Maintenance: Clean your drains regularly to avoid blockages. Don’t ignore minor leaks; even a tiny drip can lead to a significant leak.
- Temperature Control: Extreme temperature changes can cause pipes to crack. Insulate your pipes in winter to prevent freezing, and avoid setting your water heater too high.
- Professional Help: While capable of many tasks, don’t avoid professional maintenance checks. They can spot potential issues you might miss.
Solid prevention strategies can save you time, money, and stress in the long run. By serving others, you’re also serving yourself. Remember, it’s not just about fixing leaks—you’re also preserving the integrity of your home and the safety of those in it.
When to Call a Professional
Despite your best efforts, there are times when a professional plumber’s expertise is necessary to fix complex plumbing issues. You’ve done well handling minor leaks and small repairs, but there’s a point where you must recognize that the situation is beyond your scope. This isn’t a defeat; it’s smart, responsible homeownership.
When do you call a professional? If you’re seeing recurrent leaks, it’s time. Consistently recurring leaks often indicate more significant underlying issues that require a professional’s attention. It could be high water pressure, poor pipe connections, or corrosion – issues you shouldn’t tackle without proper training.
Also, call a professional if you’re unsure about the source of the leak. Identifying and fixing the root cause, not just the visible symptoms, is vital. A professional can locate the source, assess the extent of the damage, and provide a thorough solution.
Lastly, if you’ve tried fixing the leak and it hasn’t stopped, it’s time to call a pro. Don’t risk causing further damage to your property. Remember, there’s nothing wrong with seeking help. Your home is your most significant investment; a professional plumber will help you protect it.

Conclusion
Fixing a leaky pipe isn’t just a skill; it demonstrates your resilience. You’ve identified the leak, gathered your tools, shut off the water, prepped the surface, and applied your repair. You’ve shown grit and determination. But remember, vigilance doesn’t end here. Keep monitoring for future leaks, and don’t hesitate to call a pro if things get tough. You’ve proven capable, but even pros know when to seek help. Keep honing your skills; you’re doing great!